Go back
ESPKVM an Open Source Kvm with IP and an ESp32
18 august 2026
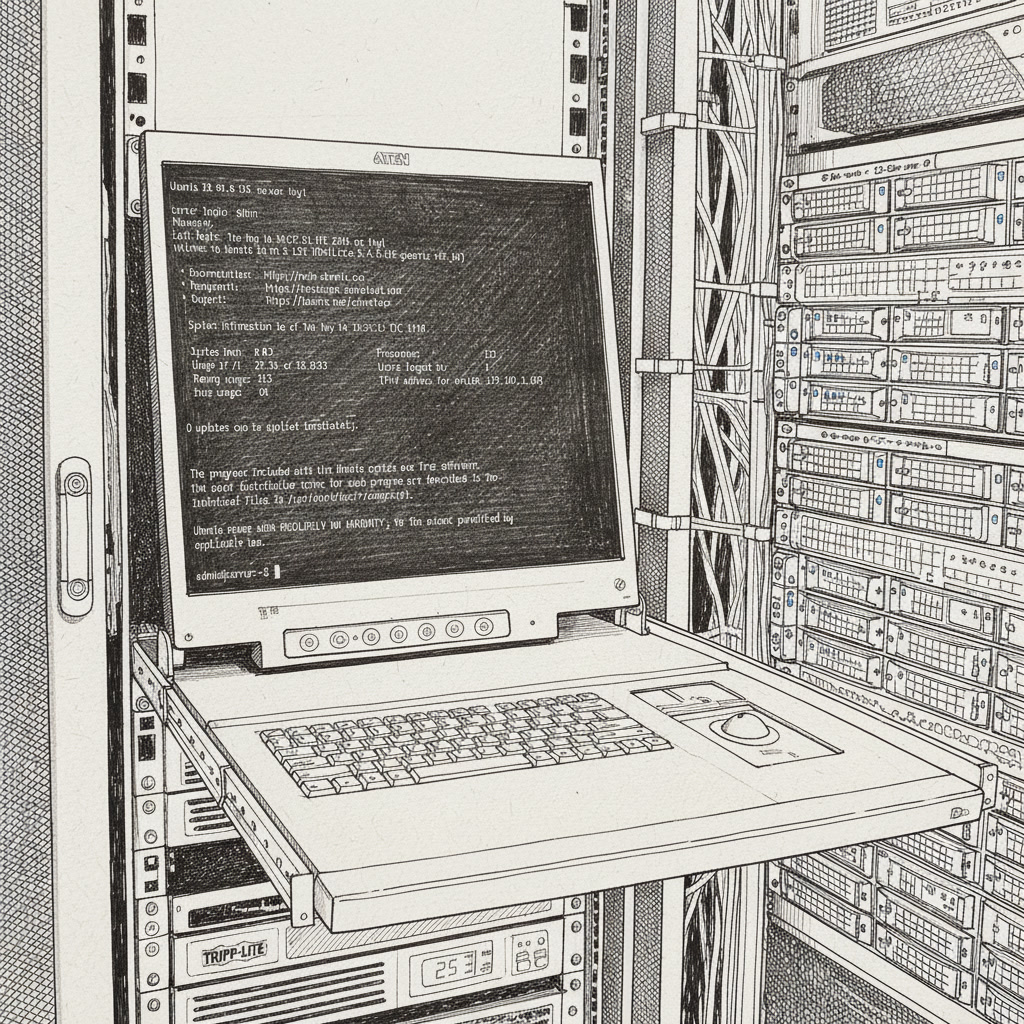
My old kvm has finally died, at first time I think I have found the culprint : a capacitor on a DC to DC
converter has died.
The replacement of the capacitor doesn't fix the problem, one other component is dead and I'm not good enough
to find the problem fast and easily, I still have a lot to learn in that domain. But I still need to
access to our servers, in particular in case of a cold restart.
I look for an a alternative to a "classical datacenter kvm with IP", why ? Really simple, just check
the price for a KVM console with IP.... even for a used one, that's interesting. When I buyed mine in
2020, the kvm was a used one for 800$ CAD. Not free but a reasonable price at this time.
The company that build the kvm is still there, they even took the time to reply to me, but the kvm is
to old and they don't have any spare part even if you are ready to buy it. They don't have any tehcnical
plan or documentation that can help me to understand what is the problem.
I search on the internet, google, digikey .... to try to find the DC to DC with the number on the pcb but
nothing.
Ok may be it's time to look for an alternative.
Cheap alternative
Not really good in my point of view. All of this really really cheap kvm are made in ch...n..., Sorry but I have some concerns about this kind of hardware directly connected to our servers. If you want to know why ?
Just looks at the price of the tenda ac1200 wifi router on am...z... than check this github Advisory Database for tenda : https://github.com/advisories?query=tenda
85 pages of vulnerability, stack buffer overflow, cleartext storage and exposure of WPA2 credentials ... at the time I view the page there is 2125 advisories.
Amazing didn't it.
Recently the firmware of their router has been encrypted and all previous version has been removed from the download page... Not sure why but may be there is something strange in the neighborhood.
It's time to search for something different and my be open source.
PIKVM
You can check PiKVM at : https://pikvm.org/
ESPKVM
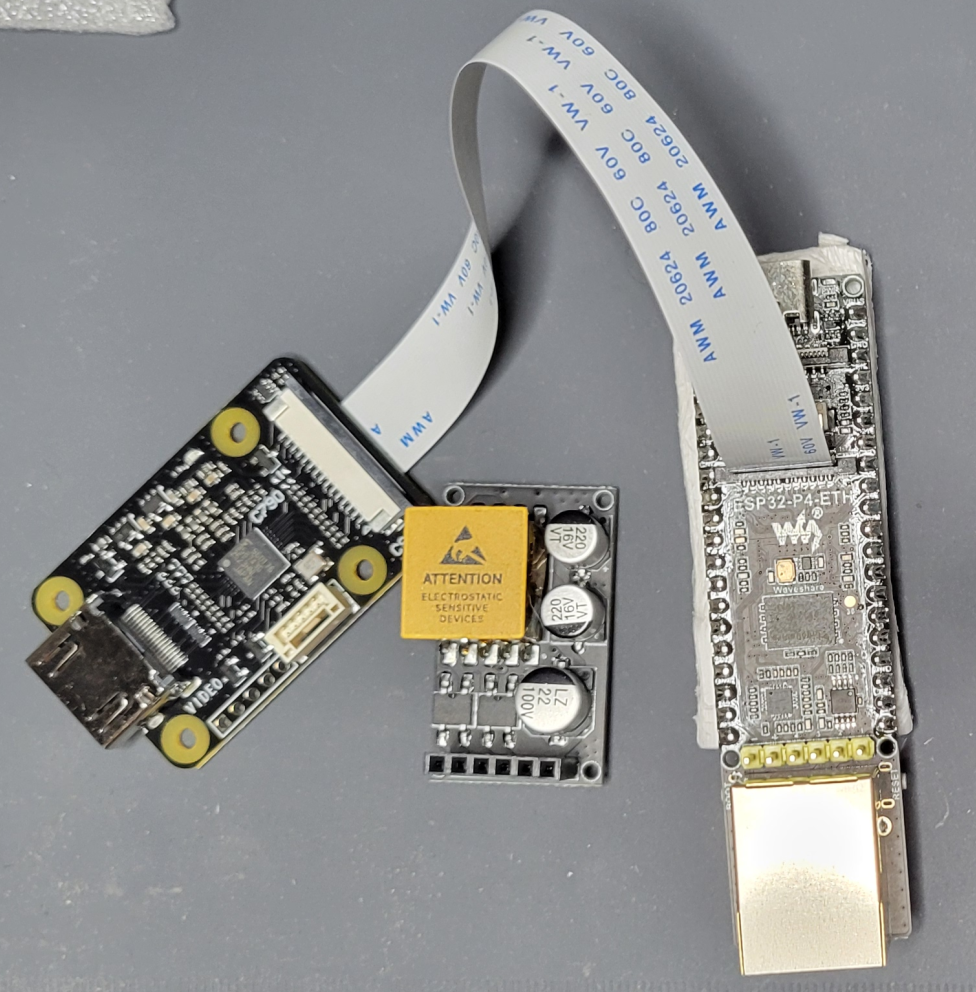
After some research I finally found the "Graal", ESPKVM. A small ESP32-P4-ETH, no wifi, no bluetooth just a RJ45 with a POE module, a Tf slot, 32MB of PSRAM 32 MB of Flash, with a capture device the Geekworm C790.
But wait there is more :
An IP-KVM built from an ESP32-P4 and a TC358743 HDMI bridge. The target machines screen, and a USB keyboard and mouse it cannot tell from real ones, over HTTPS even when it has no operating system at all. Work live with Home Assitant, got a virtual device, can boot your server from a disk image stored on an TF Card, Https, Wireguard, all the code source is available, not need for vscode, no platformIO .... OK Flashing from the web browser not the best idea but you can do it if you want....ESPKVM some specs
The Geekworm C790, A TC358743 HDMI MIPI CSI-2 bridge that turns the targets HDMI into a camera stream the ESP32-P4 can read. Any other TC358743 capture board should do just as well.
You can also add a PC817 optocoupler module A pair of these cheap two-channel boards lets ESP-KVM press the targets power and reset buttons and read its power LED, electrically isolated from the machine. Skip it and everything else still works.
Another option is an I2C OLED SSD1306 / SH1106 A 0.96 128 mono OLED on four wires. It shares the capture chips I2C bus, so it needs no pins of its own and is auto-detected the device draws its IP, link, capture status and health across a few pages.
All details are available here :
ESPKVM : https://espkvm.io//
Build an ESPKVM
The easiest way is flashing straight from the browser Chrome and Edge can talk to the board over USB, and nothing needs installing. If you would rather use the command line, download the merged firmware image for your board from the releases page and write it at offset 0 with esptool one file, no unpacking:
esptool --chip esp32p4 -b 921600 write-flash 0x0 espkvm-
Installing esptool, finding the serial port and the driver notes for Linux, macOS and Windows are all in the flashing guide.
Then plug in Ethernet, HDMI from the target and USB to the target, and open https://espkvm.local/. The browser will warn about the certificate once the device signed it itself, and nothing else vouches for it. Sign in as admin / admin; the console will not go any further until that password is changed.
Accepting the warning is enough to watch the screen. For H.264 and for the keyboard and mouse the browser needs a trusted connection, so download the devices CA (Settings Security) and add it to your trusted authorities once the README has the steps.
If your ESPKVM is not available at https://espkvm.local/ no problem.
Stop it connected the usb cables to your pc, open a serial port software like GTKTerm or putty or any software that can open a serial communication, check your dmesg to find the TTYACMO or TTYUSB to get the boot of the ESPKVM, get the mac address, setup a dhcp server (under openbsd it take 2 or 3 minutes) and reserve an ip for the mac address of the ESPKVM and voila you can access your kvm console via IP.
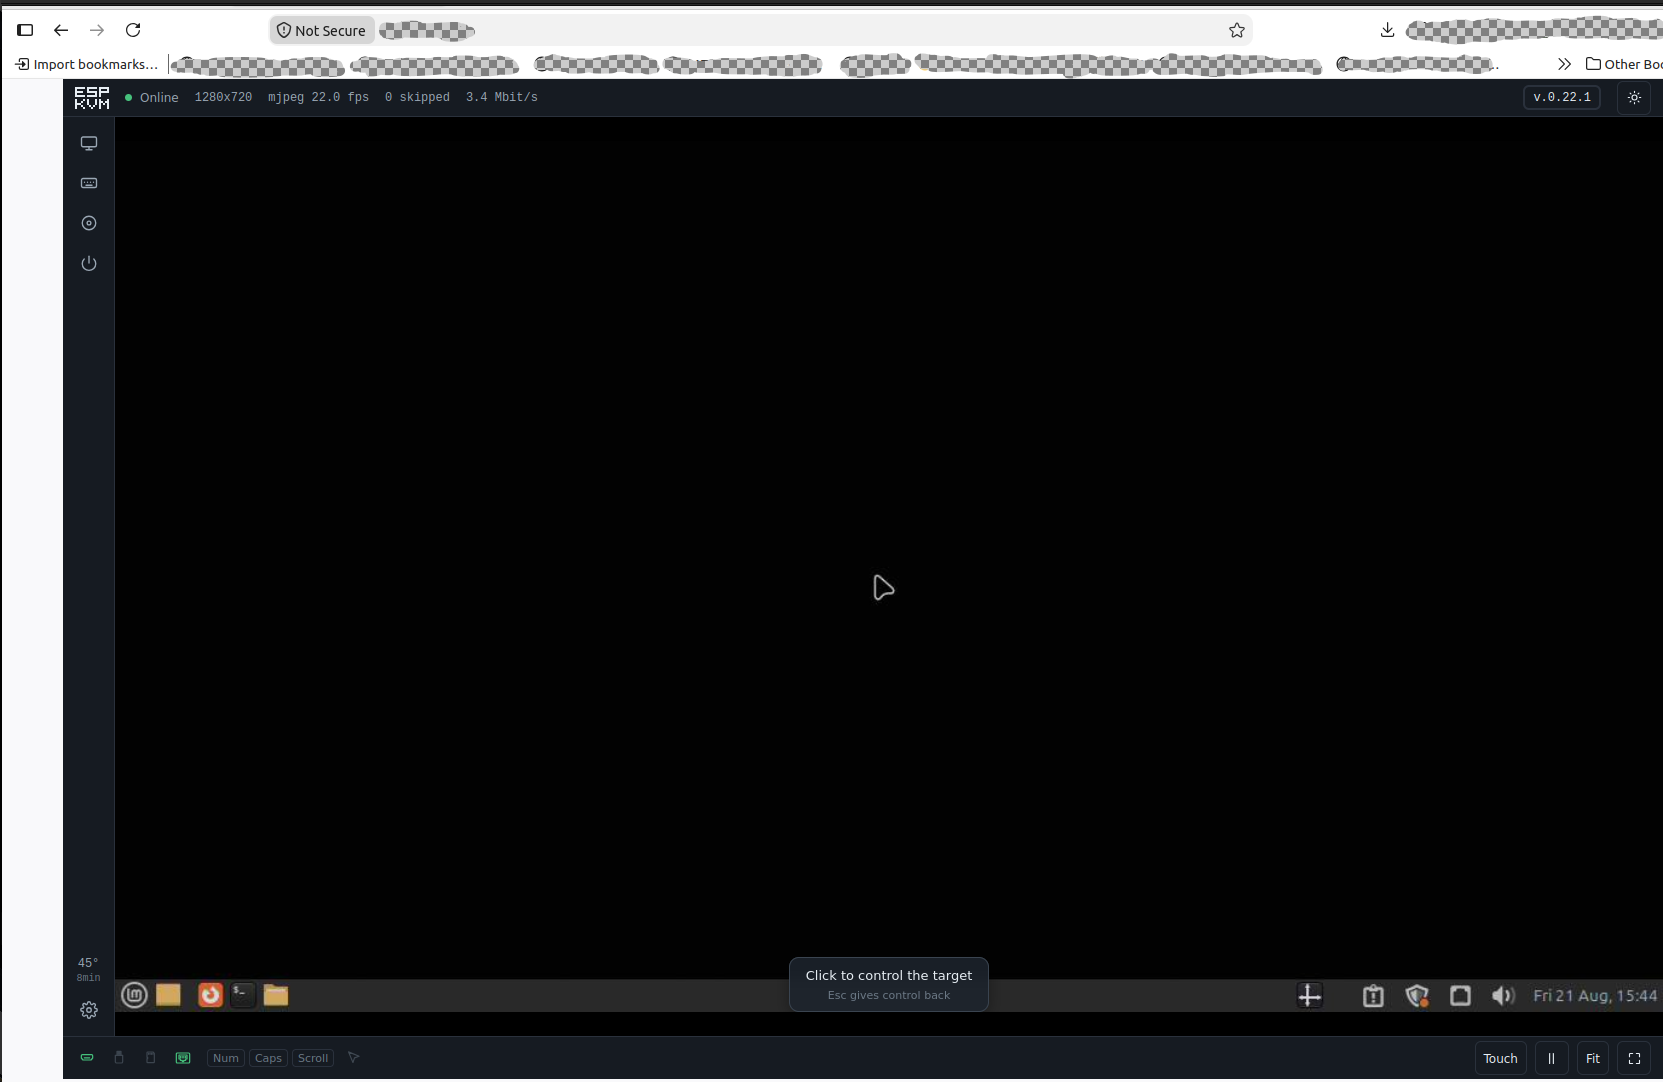
Test and limitations ESPKVM
BENFEI VGA to HDMI Adapter, 1080P Converter with Audio from Computer/Laptop VGA Source to HDMI TV/Monitor
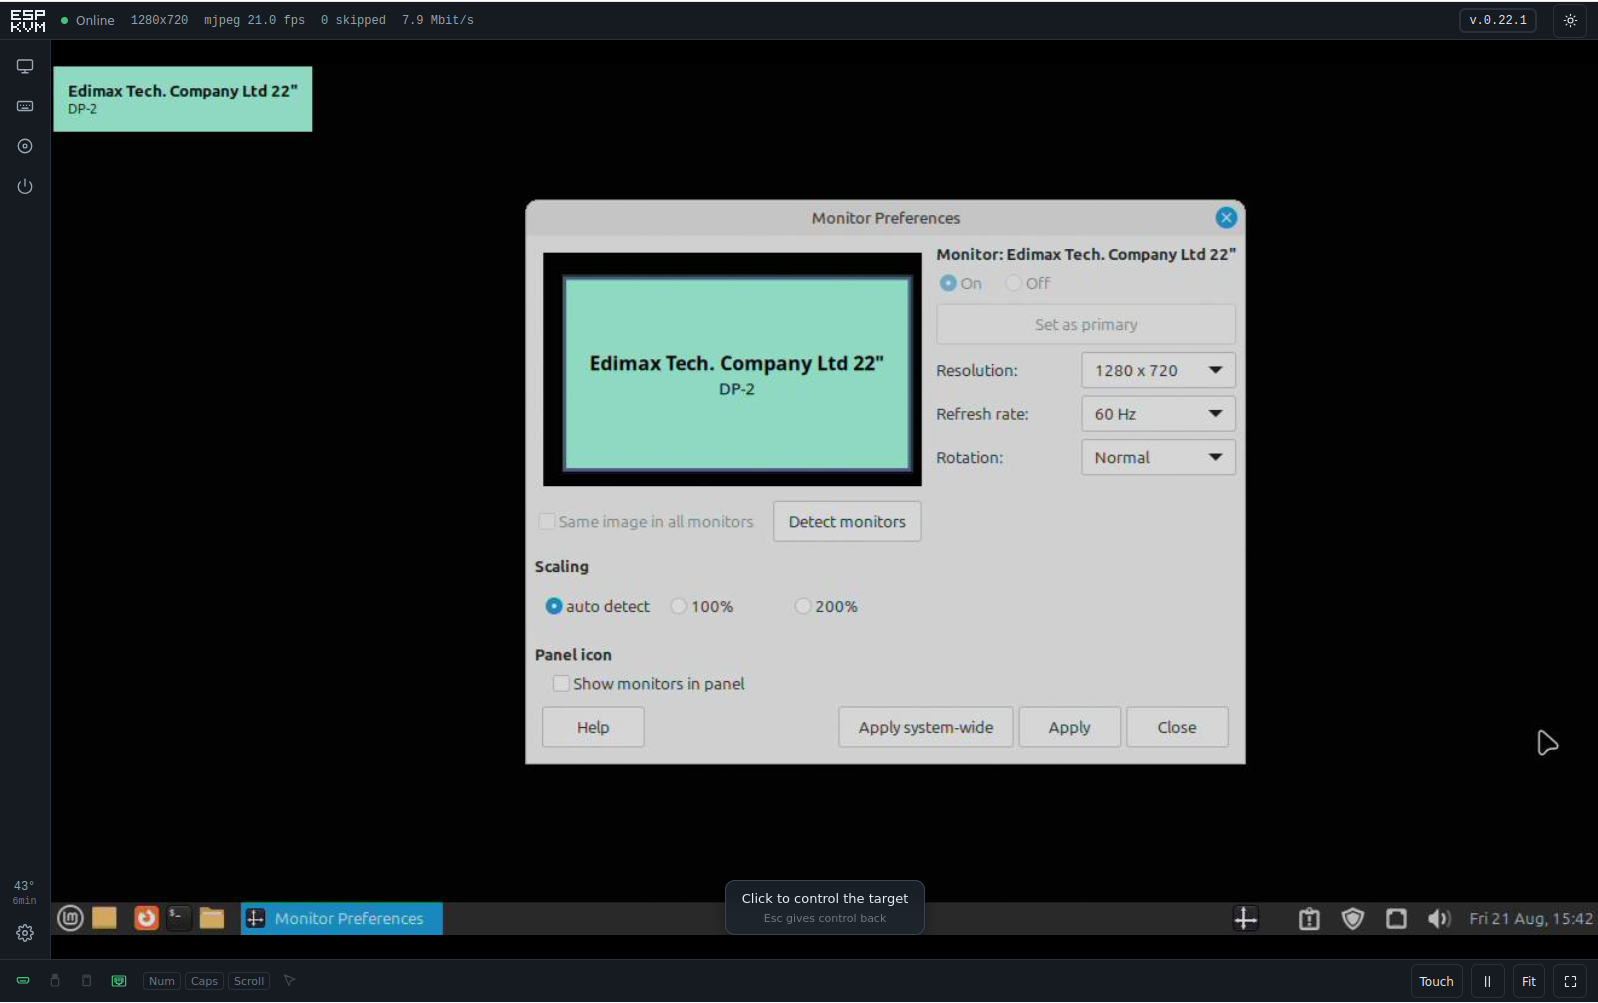
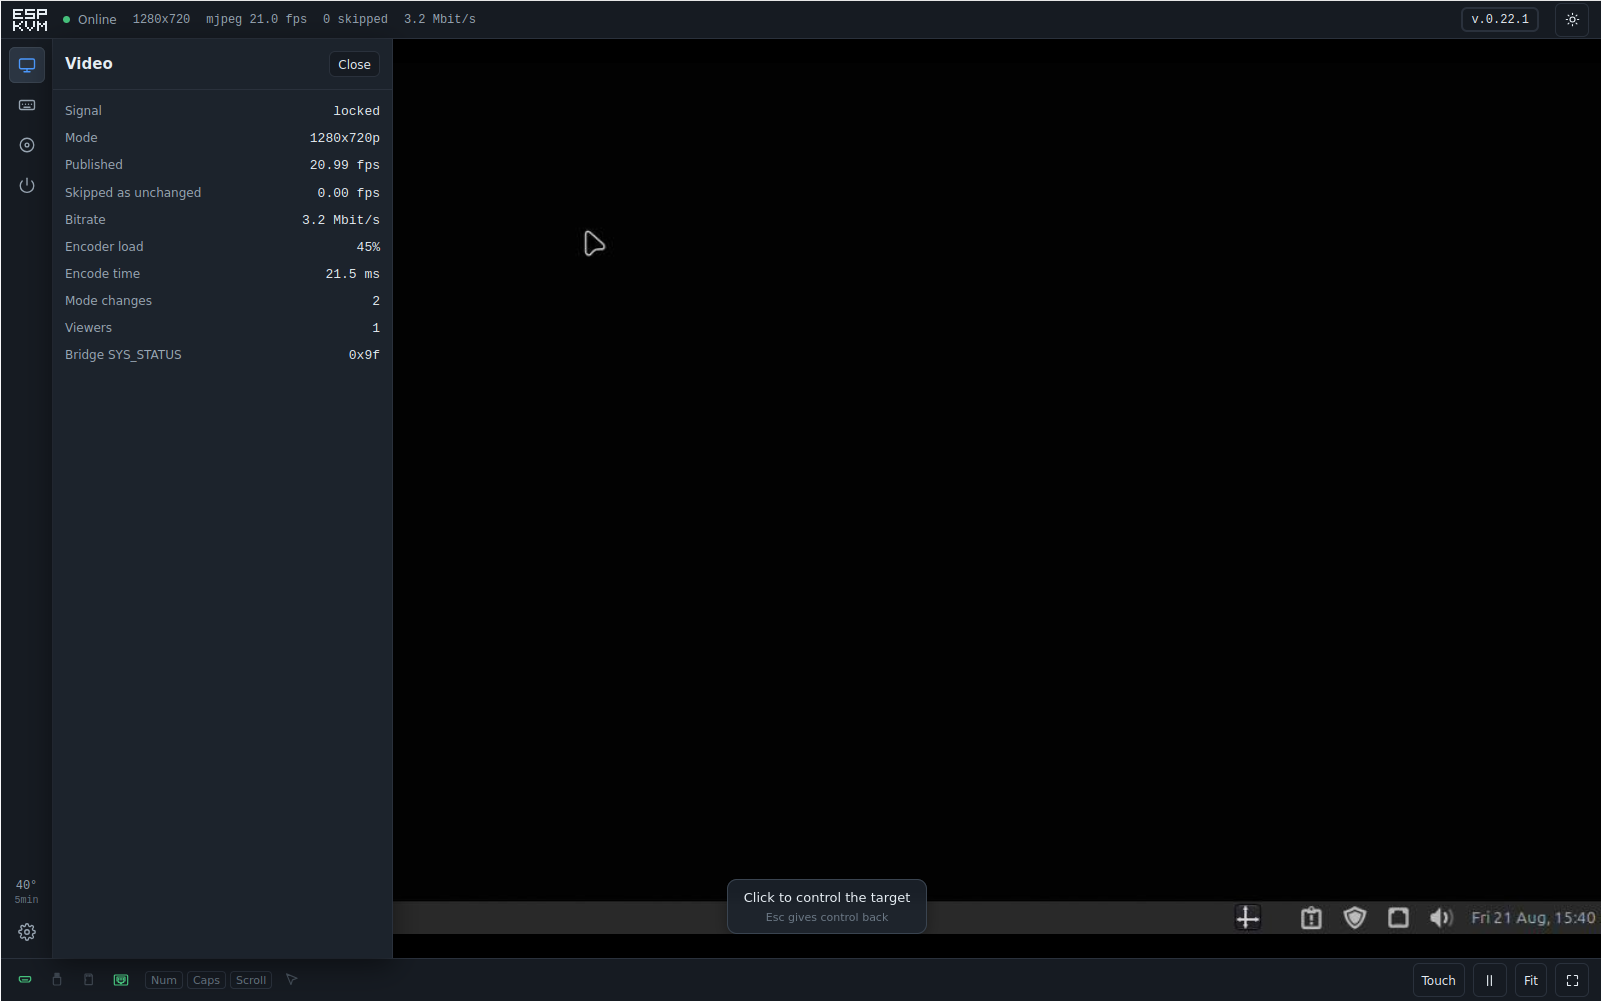
Due to limitation of the Geekworm C790 I reduce the resolution of the test pc I use to 1280x720 to get the video working.
If you don't have this mode (1280x720) on you X server you can add it with xrandr like this :
Inject and Apply the New Mode
This is probably not applicable if you have Wayland instead of X11.
ATTENTION TO SET MODE ON THE CORRECT MONITOR, don't do this from a ssh session, xrandr will detect the screen of the current display not the remote.
# 1. Define the new mode in X11
xrandr --newmode "1280x720_60.00" 74.50 1280 1344 1472 1664 720 723 728 748 -hsync +vsync
# 2. Bind the new mode to your specific display port
xrandr --addmode DP-2 "1280x720_60.00"
# 3. Switch your screen to the new resolution
xrandr --output DP-2 --mode "1280x720_60.00"
Make some test and if this is ok to make it permanent in your .profile (debian based distro) add the same line at the begining of the file
The next test will be the usb cable to get the control of the mouse and keyboard of the remote server.